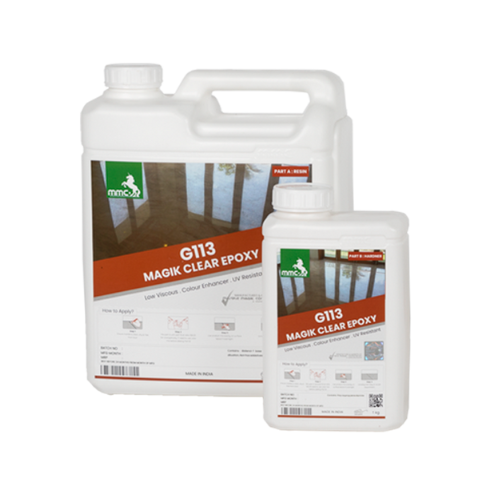
Grouting tiles in cold weather can present unique challenges that require careful consideration and specific techniques to achieve successful results. The temperature and humidity levels during colder seasons can significantly affect the grouting process, potentially leading to issues such as slower curing, uneven drying, and reduced bond strength. In this blog post, we will explore essential tips and strategies to help you navigate the complexities of cold-weather grouting, ensuring a durable and visually pleasing tile installation. Let’s dive in!
Choose the Right Cold Weather Grout
Selecting the appropriate grout such as our Magik Epoxy Gel for cold weather conditions is crucial to mitigate potential problems. Opt for a grout specifically formulated for low-temperature applications, as it will have properties that promote better curing and bonding in colder environments. Look for grouts labelled as “cold weather” or “winter-grade” to ensure optimal performance.
Monitor and Adjust the Temperature H3
Maintaining a consistent temperature during grouting is vital for successful results. Before starting the project, ensure that the ambient temperature of the space is within the recommended range specified by the grout manufacturer. Use space heaters or other heating devices to warm up the area if necessary. Avoid grouting when temperatures are near freezing, as it can hinder proper curing and compromise the strength of the grout.
Pre-warm the Tiles
Cold tiles can have a negative impact on the grouting process. Pre-warm the tiles before applying the grout to prevent temperature differentials that can affect the curing time and consistency. Keep the tiles in a heated area or use a heating mat to warm them up slightly before installation. This step will help maintain a more consistent temperature throughout the grouting process
Control the Humidity Levels
Cold weather often brings higher humidity levels, which can extend the drying time of grout. To minimize the impact of humidity, use dehumidifiers or fans to circulate the air and reduce moisture in the room. Proper ventilation is essential to promote evaporation and expedite the grout’s drying process. Additionally, ensure that the tile surface is dry before grouting, as excessive moisture can interfere with grout adhesion.
Plan the Grouting Schedule Wisely
Timing is crucial when grouting in cold weather. Avoid grouting during the coldest part of the day, typically early morning or late evening, as temperature fluctuations can impact the curing process. Aim to grout during the warmest hours of the day, ensuring that the temperature remains above the manufacturer’s recommended threshold throughout the curing period.
Mix and Apply Grout Correctly
Follow the manufacturer’s instructions carefully when mixing and applying grout. Use warm water instead of cold water to improve the grout’s workability and promote proper curing. Mix smaller batches of grout to prevent it from cooling too quickly during application. Apply the grout evenly and remove excess grout promptly to avoid drying inconsistencies and minimize the risk of grout haze.
Protect the Grout During Curing
Once the grout is applied, take measures to protect it during the curing process. Use temporary barriers, such as plastic sheets or tarps, to shield the tiled area from drafts and cold air. This step will help maintain a stable temperature around the grouted tiles, ensuring optimal curing and reducing the risk of cracks or bond failures.
Allow Sufficient Curing Time
Cold weather can prolong the grout’s curing time, so be patient and allow ample time for the grout to cure fully. Follow the grout manufacturer’s recommendations for curing time, but keep in mind that colder temperatures may require additional time for complete drying and hardening. Avoid placing heavy objects or applying excessive pressure on the newly grouted tiles until the grout has fully cured.
Conduct Regular Maintenance and Cleaning
Once the grout has cured, it’s crucial to maintain and clean the tiled surface regularly. Regular maintenance helps preserve the integrity and appearance of the grout. Use mild, non-abrasive cleaning agents and soft brushes to clean the grout lines, avoiding harsh chemicals that could damage or discolor the grout. Promptly address any stains or spills to prevent them from penetrating the grout and becoming difficult to remove.
Seek Professional Assistance if Needed
If you’re uncertain about grouting tiles in cold weather or if you encounter any challenges along the way, don’t hesitate to seek professional assistance. Tile installation experts have the knowledge and experience to tackle cold weather grouting effectively. They can provide guidance, recommend suitable grout products, and ensure that the tile installation is performed to the highest standards.
Conclusion
Grouting tiles in cold weather requires careful planning, attention to detail, and adherence to specific techniques. By selecting the right cold-weather grout, controlling temperature and humidity levels, pre-warming tiles, and following proper grouting procedures, you can overcome the challenges associated with grouting in colder seasons. Remember to allow sufficient curing time and conduct regular maintenance to ensure a durable and visually appealing tile installation.
When it comes to grouting in cold weather, patience and thoroughness are key. By following these tips and taking the necessary precautions, you can achieve a successful tile installation that withstands the test of time, even in chilly temperatures. So, embrace the beauty of tiled surfaces, even during the coldest months, and create a stunning space that brings both functionality and aesthetic pleasure.


